Street Photography Exposure Settings: A Beginner's Cheat Sheet for Changing Light
The light on a street corner can change in the four seconds it takes to lift the camera. A cloud slides across the sun, a bus blocks the window light you were counting on, and the exposure that was perfect a moment ago now gives you a black silhouette or a blown-out wall. Nobody on the street waits while you fiddle with dials. So the skill worth building is not memorising numbers — it is knowing which number to change first when the light shifts.
What follows is a working cheat sheet: the order of decisions, the starting points that hold up in most conditions, and the small habits that keep you shooting instead of menu-diving.
Decide Shutter Speed First
On the street, the thing most likely to ruin a photograph is movement — yours, the subject's, or both. That makes shutter speed the natural first decision, and it is why so many street photographers live in aperture priority with a minimum shutter speed set, or in manual with the shutter dial under a thumb.
Rough anchors:
- 1/250s — a person walking at a normal pace, reasonably confident.
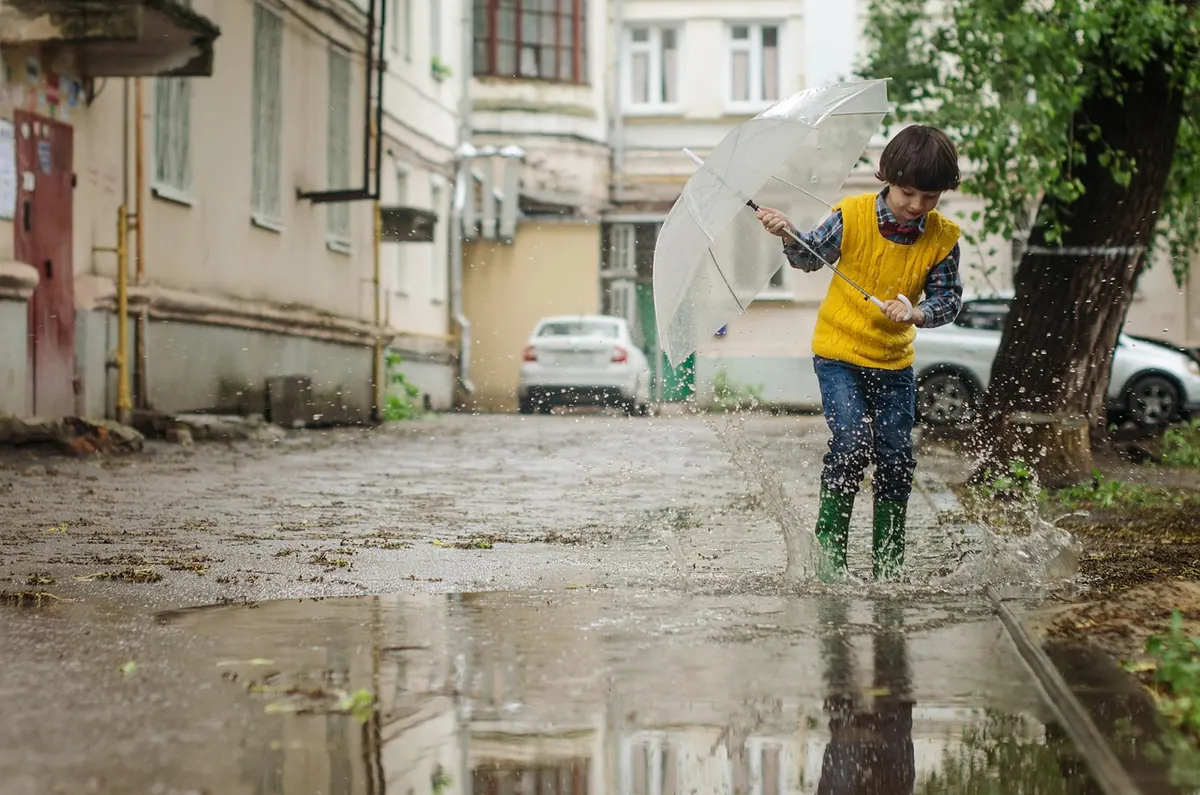
- 1/500s — gestures, handshakes, someone turning, kids, bicycles, a dog on a lead.
- 1/1000s and faster — running, jumping, anything where a frozen frame is the whole point.
- 1/60s — a still subject: a shopkeeper leaning in a doorway, a sleeper on a bench, architecture with people as small shapes.
- 1/15s to 1/30s — deliberate blur. A passer-by smeared across a sharp wall, or a crowd turned into a current.
Add a stop of insurance if you are hand-holding a long lens or you have had too much coffee. Image stabilisation helps with your shake, not with a subject who is mid-stride.
Choose Aperture for Depth, Not for Sharpness
Lens reviews spend a lot of words on the sharpest aperture. On the street that is rarely the interesting question. The interesting question is: how much of this scene needs to be readable?
If you are working close to people and want the background to fall into soft shapes, open up — f/2.8 or f/2 on a full-frame camera. If you want a whole slice of pavement, faces in the middle distance and a shopfront behind them all legible, stop down to f/8 or f/11 and accept that the light will have to come from somewhere else.
Zone focusing, briefly
Set f/8, focus at roughly three metres, and on a 28mm or 35mm lens everything from about 1.5 metres to infinity is acceptably sharp. Then you stop focusing and start watching. It is the oldest trick in documentary photography and it still works, particularly in crowds where raising the camera to your eye is the thing that breaks the picture.
Let ISO Do the Rescue Work
ISO is the setting people reach for first and should reach for last. It does not change how much light reaches the sensor; it changes how hard the camera works to make a picture from the light it got. So it buys you shutter speed and aperture when there is nothing else left to trade.
A practical arrangement: set auto ISO with a minimum shutter speed your subject can survive, and a ceiling you trust. On most modern cameras that ceiling sits around ISO 3200 for colour work, or 6400 if you are converting to black and white and like a little grain. Noise is far less destructive than motion blur. A slightly grainy photograph of the right moment is still the right moment; a clean, empty frame is nothing.
If your camera offers it, use the auto ISO minimum shutter speed menu to bias toward faster speeds — "faster" or "fast" rather than "standard". That one change prevents most of the soft street pictures people blame on autofocus.
The Cheat Sheet: Starting Points for Common Light
Treat these as launchpads, not laws. They assume a roughly average scene and a handheld camera; adjust from the first frame you review.
- Bright sun, hard shadows: 1/500s, f/8, ISO 100. Expect blown highlights on pale walls — dial in -0.3 to -0.7 EV and let the shadows go.
- Hazy sun or thin cloud: 1/400s, f/5.6, ISO 200. The forgiving light; almost any settings work.
- Overcast: 1/250s, f/4, ISO 400. Flat light suits faces; look for colour to carry the frame.
- Open shade, doorways, arcades: 1/200s, f/2.8, ISO 800. Watch the bright street behind your subject.
- Golden hour: 1/250s, f/4, ISO 200. Side light rewards a slightly lower angle.
- Blue hour, lit shopfronts: 1/125s, f/2, ISO 1600. Brace against a wall or a pole.
- Night, streetlights and neon: 1/60s, f/1.8, ISO 3200. Underexpose slightly; the signs clip first.
- Indoor market or station concourse: 1/200s, f/2.8, ISO 1600. Mixed colour temperature will fight you; consider black and white.
- Deliberate silhouette: meter for the bright background, then let the figure go black. 1/500s, f/8, ISO 100 in sun.
Metering and Exposure Compensation in a Hurry
Multi-segment metering is clever, but it is guessing at your intent. When a bright sky or a hot shop window fills the top of the frame, the camera protects those highlights and hands you an undercooked subject. When a large dark wall dominates, it does the opposite.
Two habits cover most cases. Check the frame after the light changes — not after every shot, but whenever a cloud, a shadow or a doorway enters the scene. And learn which way your camera lies. Many models meter slightly hot in contrast, so a permanent -0.3 EV is a reasonable default in sunshine. For a face against a bright background, add +0.7 EV and accept a white sky.
If your camera has a highlight warning or zebra display, switch it on. Flashing on skin is useful information; flashing on a patch of sky usually is not.
Practice the Switching, Not the Numbers
Settings are easy to read and hard to reach under pressure. What you want is a set of moves your hands make without consulting your brain. Three drills do most of the work.
- Spend a session in aperture priority with auto ISO and a minimum shutter speed, changing only the aperture. Note where the camera runs out of light and the shutter drops.
- Spend a session in manual on one street corner for an hour. Expose for the pavement, then leave it and shoot whatever passes. When the sun moves, adjust once and carry on.
- Spend a session at f/8 and three metres, never touching focus. Count how many frames you get that a focusing workflow would have missed.
Review at home with the settings visible. You will find your own pattern: perhaps 1/250s is your floor, or your camera is happiest at ISO 800 in shade. Write your three numbers on a card, keep it in the camera bag, and revise it as the seasons change. The cheat sheet that matters is the one built from your own misses.
Photo: Pham Ngoc Anh / Pexels