
Common Street Photography Mistakes That Make Your Photos Look Like Snapshots
There is a specific disappointment in opening a folder of street photos and finding nothing but near-misses. The street was interesting, the light was fine, the camera did what you asked. Nothing is technically wrong. And yet the pictures sit there looking like something a passerby would have captured on the way to lunch.
The distance between a snapshot and a photograph is rarely about gear or travel. It is almost always a handful of small decisions: where you planted your feet, when you pressed the shutter, what you let into the edges of the frame. None of these require expensive equipment. All of them require noticing. Here are the habits that flatten street work most often, and what to do about them.
The frame is doing too much
Clutter is the most common reason a street photo fails. Not clutter in the sense of a busy scene — busy scenes can be wonderful — but clutter that competes. A bright patch of sky in the top corner. A parked van that cuts the frame in half. A sign with readable text pulling the eye away from the person you actually wanted.
Stand still before you shoot and run a quick check around the border of the viewfinder. Photographers call this edge patrol, and it takes about two seconds once it becomes a habit:
- Start top-left and move clockwise. Look for bright blobs, stray limbs, half-cut heads, poles growing out of shoulders.
- Ask what you could remove by taking one step sideways, or one step closer.
- Look for something dark or plain you could put behind your subject — a shadow, a doorway, a stretch of wall — to quiet the background.
- Wait for the gaps. Crowds are not a problem if you choose the half-second where the space opens up.
Two other quick tools: shoot slightly tighter than feels natural, and use foreground shadow to black out the messy corners of a frame. A dark wedge in the bottom corner can eliminate three distractions at once.
There is no hierarchy — everything is equally loud
A snapshot is democratic: every element gets the same attention. A photograph makes an argument. The eye should know where to land first, second, and third, and that order should be deliberate.
Squinting at the scene is the oldest test there is, and it still works. Half-close your eyes until detail dissolves. Whatever still stands out is the subject of your picture, whether you intended it or not. If it is a red delivery box and not the woman crossing the road, you have a decision to make.
Building hierarchy usually means subtraction. Move so the subject occupies a meaningfully different amount of the frame than everything else. Give it clear space around it. Or invert the usual advice and let the subject be small, alone in a large plain area — a single figure against a wall is often stronger than a close portrait with a busy backdrop.
Timing: pressing the button before or after the moment
Most mistimed street photos fall into two camps. The first is early: the shutter fires as a gesture begins, so you catch a hand rising rather than a hand raised. The second is late: the interaction has already ended, the glance is gone, and you are photographing the back of a moment that has passed.
Watch for the peak. In street work the peak is rarely a big event — a laugh landing, a hand reaching a door handle, a head turning into a shaft of light, a foot flat on the ground at the top of a stride. Anticipate it, hold the camera ready, and fire as it arrives rather than after you notice it.
Two practical habits help. First, stop chimping between frames; the review screen costs you about a second, which is often the whole moment. Second, resist the urge to fire a long burst and sort it out later. A burst gives you six frames of the same weak instant. One considered frame, then a second a beat later, teaches you far more.
If you find yourself shooting the back of people walking away, you were a fraction late. Preselect your spot and let the scene walk into the frame instead.
You are standing where everyone stands
Eye level, middle of the pavement, phone held at chest height: this is the tourist axis, and it produces tourist pictures. Not because eye level is bad, but because it is the only angle most people ever use, so it is the angle every scene has already been seen from.
Change your altitude. Kneel for a low view and let legs and reflections carry the frame. Find a step, a doorway, a low wall, a bridge. Shoot from above a crossing and let the geometry of the pavement do some of the work. None of this needs to be dramatic — a forty-centimetre drop is often enough to separate your picture from everyone else's.
Add layers instead of moving closer
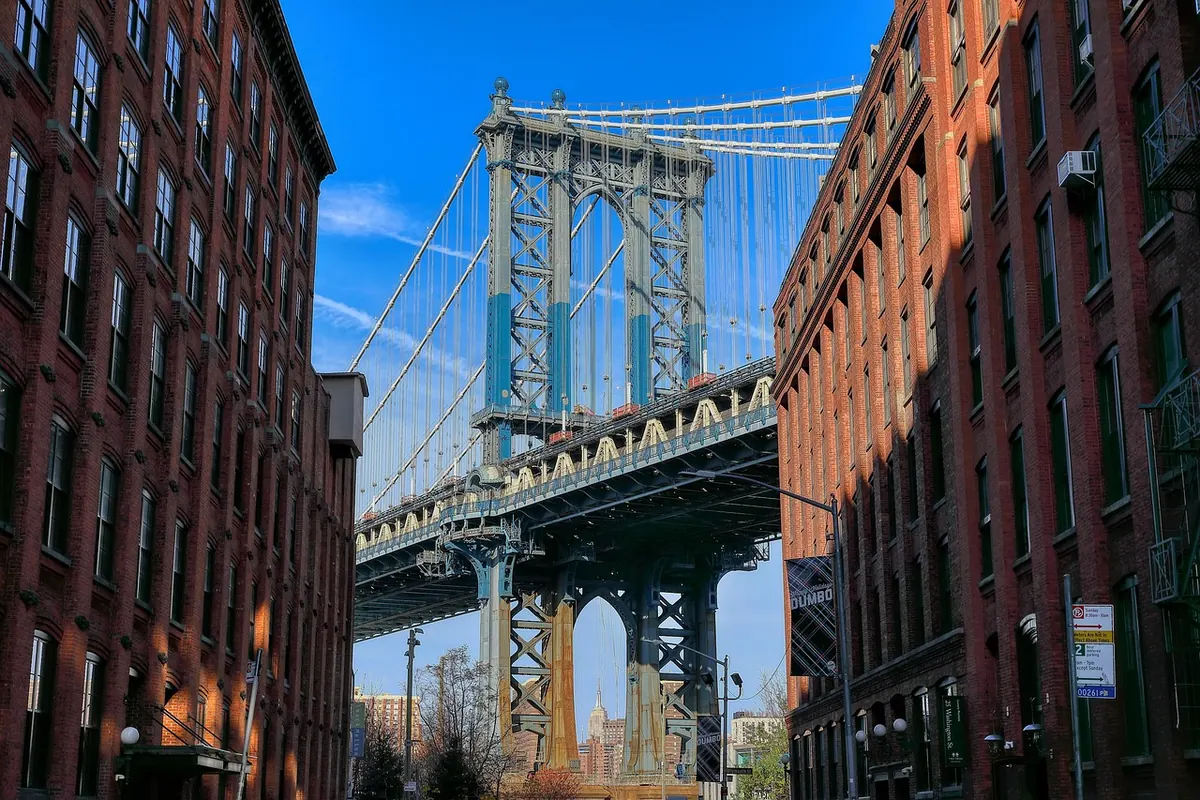
Another way to escape the flat, straight-on look is to compose in depth: something soft and close in the foreground, a main subject in the middle distance, a recognisable background behind. A blurred shoulder at the edge, a window frame, a passing car. Layers give a two-dimensional image a sense of a real place with air in it.
You take one frame and walk on
This is the quietest mistake on the list. Something catches your eye, you raise the camera, take one shot, and continue. Almost every strong street photograph comes from working a scene: staying put, watching, and letting the situation develop.
Give a promising corner three or four minutes. Watch how the light moves across it, how people enter and leave, which background elements repeat. The first frame is research. The fifth is usually better. The tenth, taken after you have stopped thinking about being seen, is often the one you keep.
This is also the answer to the fear of being noticed. Standing in one place with a camera looks purposeful; darting about and firing from the hip looks furtive. Stay, breathe, and let people get used to you. If someone objects, lower the camera, smile, and move on. That is the whole protocol.
Fixing it later instead of getting it right in the frame
Editing habits can undo good capture, and they can also disguise weak capture. A few patterns worth watching for:
- Heavy cropping to rescue a picture. Sometimes it works. More often it reveals that the composition was never decided on the street.
- Pushing contrast and clarity hard. Street scenes are usually about relationships between people and place; crushed shadows and glowing highlights flatten those relationships into noise.
- Converting to black and white to save a frame. Monochrome is a genuine choice, not a rescue. If the photo has no subject and no structure, removing colour will not add any.
- Straightening the horizon and nothing else. Look at the whole frame again. What is the photo of? If you cannot answer in one sentence, it is probably a snapshot.
Keep the editing modest: correct the exposure, hold the highlights, straighten what needs straightening, and stop before the picture starts to look processed.
A short practice routine
Pick one constraint per outing and let it do the teaching. One focal length, so you must move your feet. Thirty-six frames total, so you have to be choosy. Twenty minutes on a single street corner, so you have to work a scene. One colour you are allowed to photograph, so you notice what you are actually drawn to.
Then review with two questions only. What is this a photo of, in one sentence? And where does the eye land first? Be honest with your answers. Most flat images fail one of those two tests long before they fail anything technical — and both are fixable the next time you are out on the street.
Photo: Annushka Ahuja / Pexels